ZEN CART
INSTRUCTIONS FOR ADDING PRODUCTS & CATEGORIES
PREVIEW PRODUCTS
Once you have entered all of the date for the new product, you press the ![]() button and see this screen:
button and see this screen:
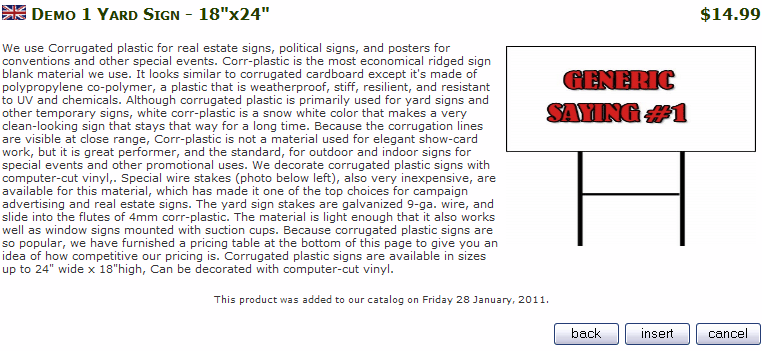
What you'll see is a very basic preview. This is a good place to check that you have uploaded the correct image, check for spelling mistakes and other errors. To edit the product before placing it in your catalog, press the ![]() button.
button.
If you are happy with all of the data, press the ![]() button and the product will become part of your catalog.
button and the product will become part of your catalog.
Pressing ![]() will return you to the last Category list you were viewing.
will return you to the last Category list you were viewing.
ADDING IMAGES
Once your product is created, you can add more images to it by uploading them via your FTP program. Make sure that you upload them to the same folder that you uploaded the image to when you created or edited the product.
Once the new images are uploaded and using the correct naming format, Zen Cart will magically add them to your product page. Images will help sell your product - but make sure that they are quality images (sharp, in focus, correct color, etc).
ADD METATAGS (IMPORTANT!)
Once your product is created, return to the product list and press the ![]() button to define metatags for your product page. This is necessary if you want search engines to find your products and lead customers to your site. Use descriptive and accurate tags.
button to define metatags for your product page. This is necessary if you want search engines to find your products and lead customers to your site. Use descriptive and accurate tags.
If your product does not have any attributes, or options, your product is complete and ready for sale. If you need to add some options, go to the next page.
SUMMARY
The process of creating new products is not difficult, but you have to be careful not to miss any important fields when filling out the form. Make sure you review everything before inserting it into the catalog.
<< PRODUCTS
ATTRIBUTES >>
© 2011 - Art Whitton - myArtdepartment.com